Quilting in a straight line…HOW?
Quilting on a frame is a nice change from pushing and shoving the quilt around, but one quickly realizes that to quilt in a straight line it isn’t so easy! The machine carriage is so sensitive to every bump and seam in the quilt that when you move the machine in a straight line it becomes difficult to keep perfectly straight when going over multiple seams. Moving in a diagonal line is even more difficult!
So what can you do? Grab a Long Arm Ruler. Long Arm Rulers are thicker & stronger than the rulers used for rotary cutting. They come in may different shapes and sizes. There are round, curves, feathers, straight, wavy, clam shell, and many templates shapes such as leaves, moons, hearts & stars…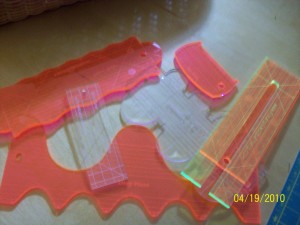
How do you use these ruler?
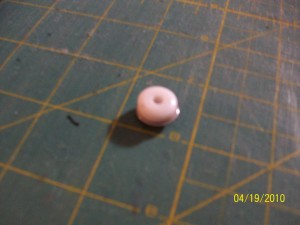
You need to be sure you have a RULER FOOT on your machine… to create one simply use the Teflon Adaptor by Swiftquilter,New Zealand. It easily pops into the round ring of a free motion foot and is held in place with a little metal c clamp. Now you are ready to begin quilting with rulers!
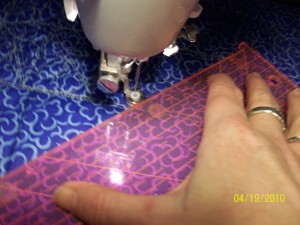
Then you will place ruler on the quilt, with a little pressure down to keep the ruler in place, and move the foot along the edge of the ruler. Remember the stitching line will be 1/4″ away from the edge of the ruler because the needle is 1/4″ from the edge of the ruler.
here’s a video that may help… ( use your browsers back arrow to come back to the blog when video is done!)
http://www.facebook.com/v/1198351561581
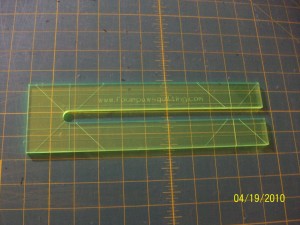
My favorite ruler for beginners is the Line Tamer ruler. It has an opening in the center of the ruler. Place the ruler over the area to be quilted, place the machine foot into the opening, and stitch along this path. The foot stays inside the path, keeping the stitching nice and straight. Once you are good at this, use the outside edge of the ruler for straight line work too.
Now you are ready to do cross hatching, x’s, and many traditional quilting designs!
